
Managing job cards
Create jobs, assign technicians, add parts and labour, capture sign-off, and print or invoice.
Who this is for: Office staff who raise and manage workshop jobs.
Create a job card
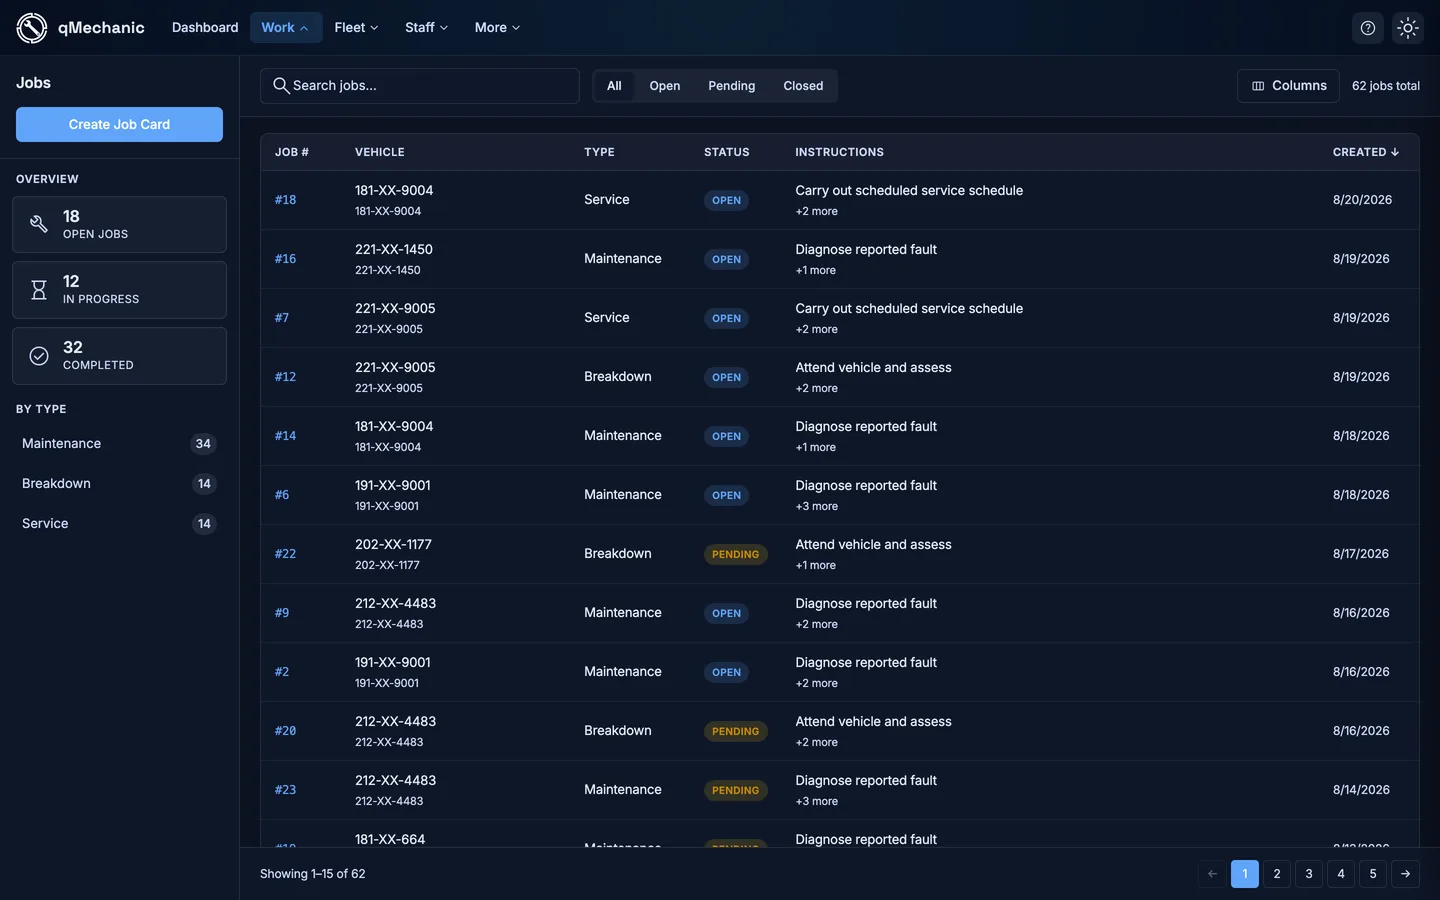
- Go to Job Cards in the sidebar, then select “Add job” (or the new-job button).
- Choose the vehicle the job is for.
- Pick the Job type (these come from your configured job types).
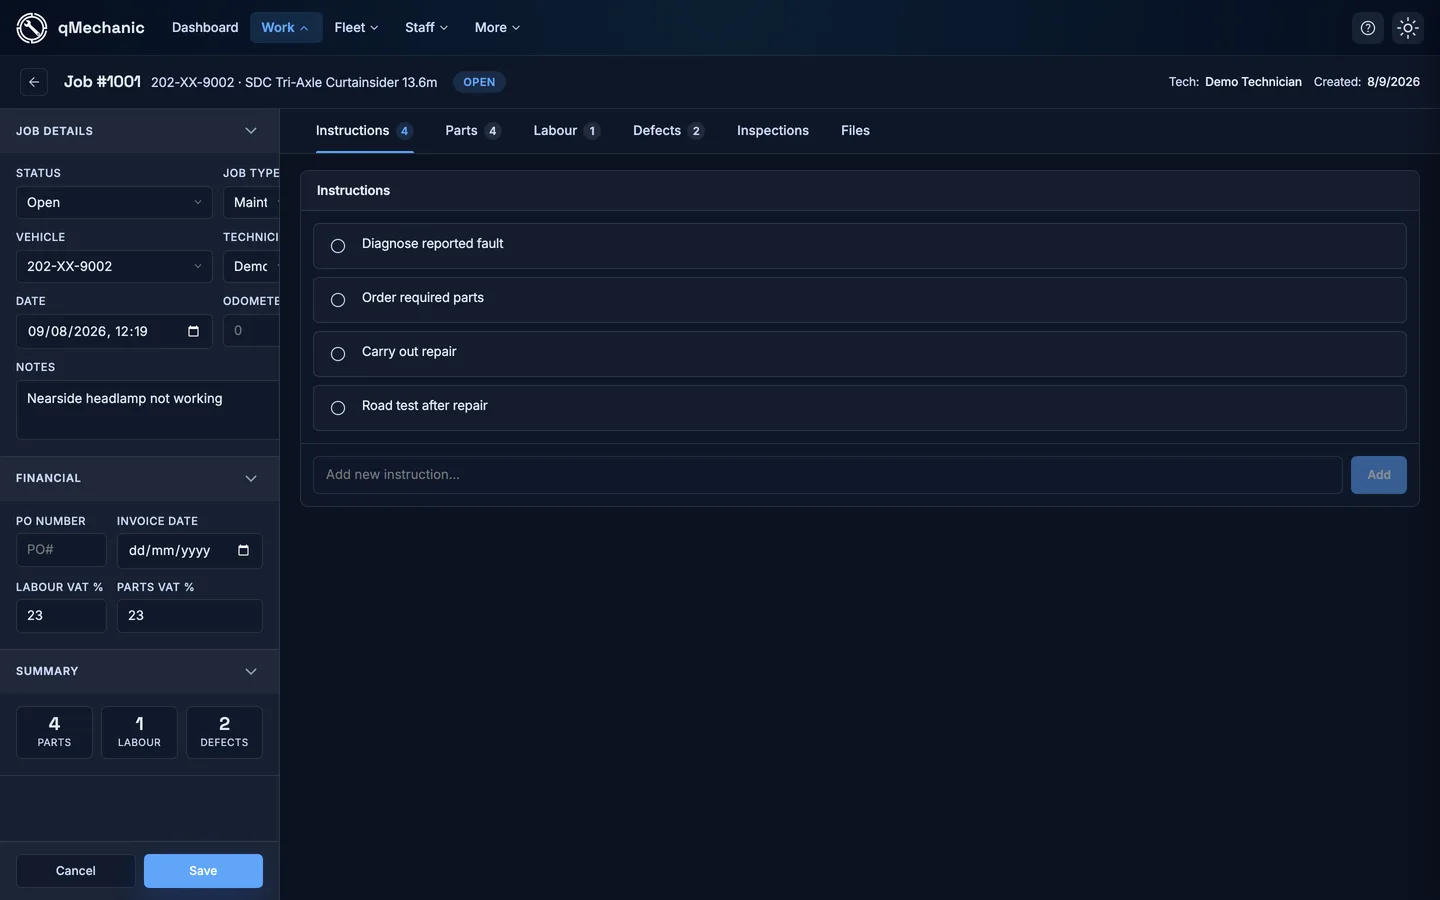
- Add one or more instructions describing the work to be done.
- Save. The job opens on its detail page.
Assign a technician
- Open the job card.
- In the job details, set “Assigned to” to the technician who will do the work.
- Select Save.
TipOnly people who are allowed to be assigned appear in the list.
Add parts and labour
- Open the job and go to the Parts tab. Select “Add part”, search the catalogue, set the quantity, cost and sale price, then add it.
- To change a part later, use the Edit (pencil) button on its row to adjust quantity, cost, sale price or invoice number.
- Go to the Labour tab to record hours worked against the job.
Status changes and sign-off
When you move a job to Pending or Closed, the app asks for a sign-off.
- Change the job Status (for example, from Open to Closed) and Save.
- A sign-off box appears — enter the technician’s name (required) and a supervisor’s name (optional).
- Confirm. The sign-off is stored on the job and shown as a badge.
Print, invoice, files and delete
- Use “Print” in the job header to open a printable job card.
- Use “Invoice” to open the invoice view for the job.
- On the Files tab you can upload attachments and download them again later.
- Use “Delete” in the job header to remove a job card (this cannot be undone).